

Photographing people is not an easy business. Each person is different, and the role of the photographer is generally to accentuate the best features. A huge variety of faces, types of figures, and characters – this is what we have to deal with every photographer. Everything is not so terrible. In this article, we’ll try to simplify for you the shooting options for different types of faces and figures. Here you will also find useful tips that will come in handy for a shoot or boudoir. Speaking of this genre, if you want to find curvy boudoir photography ideas, read the article on Skylum’s blog.
 Let’s start with the lens
This is a very important point, so we’ll break it down with you in more detail and sequence:
- For shooting close-up portraits, normal or long focal length lenses are usually used. An essential attribute of a portrait lens is a large relative aperture, as well as a beautiful bokeh pattern.
- The specialized portrait lens is designed so that it shows minimal aberrations when focusing from a few meters, that is exactly when shooting a portrait, to the detriment of image quality.
- Many people use wide-angle lenses for full-length portraits and to get a sense of the large space around the model, but of course, this type of lens is not basic for portraits.
- Whatever type of face or figure you’re shooting, try to avoid wide-angle and telephoto lenses with focal lengths above 200mm for close-ups, as they distort perspective quite a bit.
Depending on specific situations, you may realize that it is a perspective distortion that allows you to frame a particular face most harmoniously.
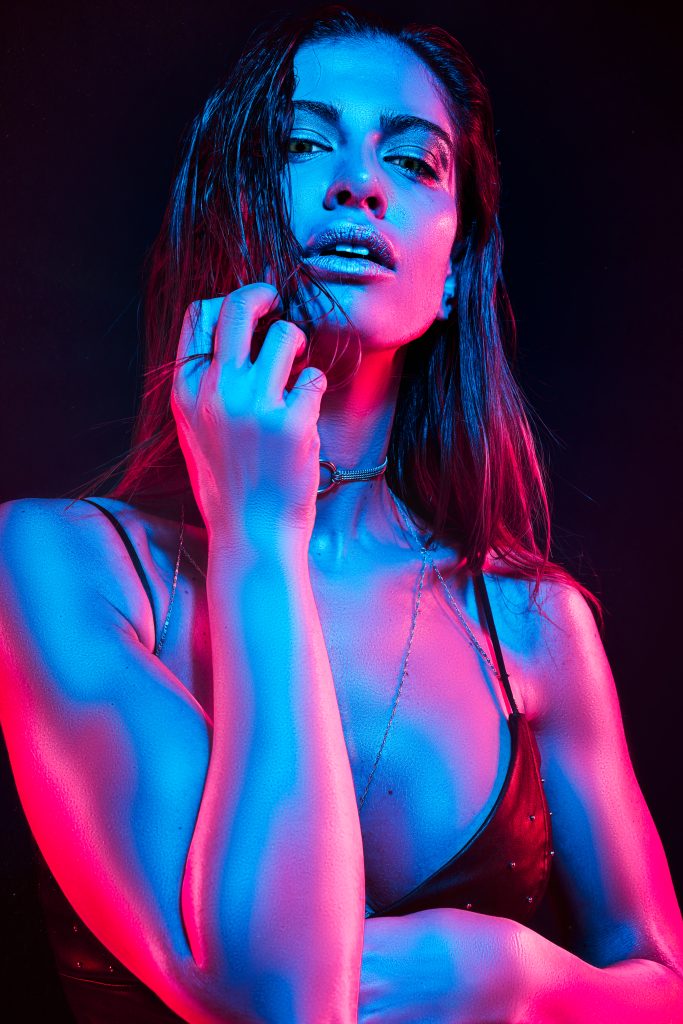
Face Types
Ideally, when you often shoot portraits, you eventually begin to easily see the differences between faces and on a subconscious level, purely visually, choose the most appropriate angles for a particular type of face.
Here you can’t do without a photo editor, so we want to offer you a great option. With Luminar Neo you can quickly and easily master portrait retouching thanks to the easy-to-use interface and various tools.
Round face
Side lighting is preferable as it helps to visually narrow the face. A half-turned shot would be ideal.
Do not concentrate only on the portrait close-up, if you focus on a slim figure, you can smooth out the visual imbalance. Also, if the model has a round face, you can correct the shape by using your hair to cover the cheeks or include your hands in the frame, hiding part of the face and forming a different picture.
Oval face
It is considered to be the benchmark, it has perfect proportions. This type occurs in a pure form rarely, more often the shape of the face gravitates to one or another of the other types. If you were lucky enough to shoot a model with an oval face, enjoy and experiment.
https://images.pexels.com/photos/3186326/pexels-photo-3186326.jpeg
Oblong face
For this type of face, it is better to use even lighting and not to use side lighting, which visually elongates the face even more. Such a face is better to shoot from the front or slightly from above, which will visually shorten it. A hairstyle with bangs is great for this type of face, but if the model has no bangs, suggest a hat for the shoot, or form a composition so that part of the face is covered by hair and part by hands.
Pear face
It is desirable to ask the model or stylist to make a voluminous hairstyle, which could visually smooth out the shape of the face. The rules for taking pictures are generally the same as for a round face. Side lighting and half-turn perspective help to narrow the chin.
In this case, also well suit the perspective from the top, as visually the upper part of the head will increase, and the chin will look less heavy. Never photograph people with such a face from below – this will further enlarge the chin and narrow the forehead.
Figures
When taking full-length photos, you have to make sure that the human figure fits in with its surroundings.
Slimness
In the case of extreme thinness, it is very important to avoid the comparison factor. Do not place the model in the frame next to objects whose dimensions are recognizable and generally accepted. If a person’s thigh is as thick as a chair leg, don’t put them in that chair. Choose a comparable environment in which the person will look most advantageous.
Fullness
In the case of a full figure, just as in the case of a skinny figure, you should avoid unprofitable comparisons. Do not put your model on too small a stool, compared to which only a child will not look huge, let alone large people. Choose an appropriate interior. It is also worth helping the model before the shoot to choose clothes that can accentuate the advantages and hide flaws. Dark colors with a classic cut hides fullness, for example, and vertical stripes on clothing.
Heavy top and heavy bottom
In the case of a heavy bottom it’s easy – make portraits half-length. If you want to make a photo full-length, try to choose clothing that would hide the full bottom, for women, for instance, wide skirts do an excellent job with this. If the model has a large top, then focus on the advantages.
Conclusion
So, we’ve covered the key points on how to shoot different types of faces and figures. Nevertheless, you should keep in mind that sometimes there are quite complicated cases when it’s not so easy to understand how to shoot a model correctly. Remember: there are no ugly people.
Every person can be photographed in a way that makes them look very good in the picture. If you need new inspiration for photo shoots, find it in an article with curvy boudoir photography ideas on Skylum’s blog.